Taking a Pov-Ray Screen Shot
Taking a Pov-Ray Screen Shot with Seamless is much like taking a screen shot using a paint program but instead of capturing the pixels rendered by your video card, the scene is output to povray files, which are then rendered to pixels by Pov-Ray. Pov-Ray will create a much higher quality image than can be hoped for by your videocard because povray can take it's time to calculate lighting more faithfully to how real light behaves. Pov-Ray creates it's images using ray-tracing, the same technique that's used for making commercial 3d animated movies. With povray we can easily create stunning complex shadowy scenes by doing little more than playing about with the position and orientation of lights and objects. Pov-Ray has been around for many years and it's open source and free.
To take a povray screen shot you must have povray installed on your computer.
Povray can be downloaded from:
To output a scene from seamless to povray format:
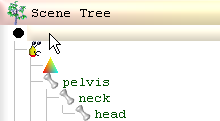
Select the Scene
 node in the scene tree:
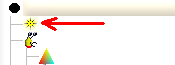
In the Scene node's control panel check the outputPovRay field:

if a PovLight has not already been added, this causes a PovLight node to be inserted as the first node in Scene:
and causes fields specific to PovRay to be shown in the ColorEffect's
 control panel when the ColorEffect
is selected.
control panel when the ColorEffect
is selected.
To create the povray files click the output button in the Scene
node's control panel.
When seamless prompts us to open Povray
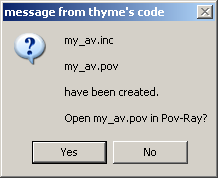
click Yes
After povray has opened with our pov file, click on povray's run
 button
We will then see povray render the same image with the same pose we saw in Seamless's 3d window at the point in time we clicked on the output button.
As well as the orientation of the scene, the background color is also output from seamless.
The corresponding inc file for the pov file contains the geometry and the light source.
If we want to hand edit the pov file for povray we can prevent Seamless3d from overwriting it by saving the pov file with a different filename.
Adding Effect nodes for Indevigual Parts in a Model
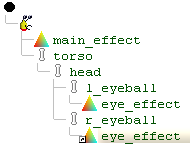
If we want for example the eyes in our model to have a different amount of shininess to the rest of the model, we can do this by giving the eyes their own Effect node. Both eyes can share this one Effect node because for example the right eye's Effect node can be a reference to the left eye's Effect node as shown here:
To make parts like eyes more shiny, try setting phong and/or specular in the range of 0.5 to 1
for example:
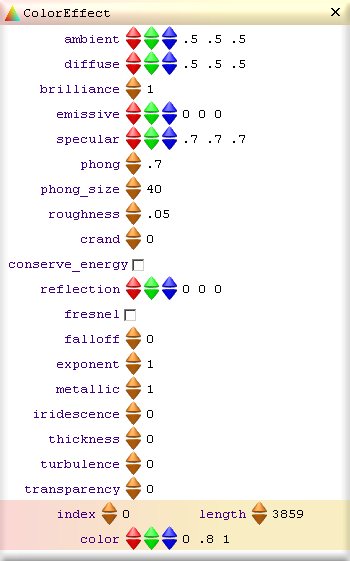
gives the following results for eyes:
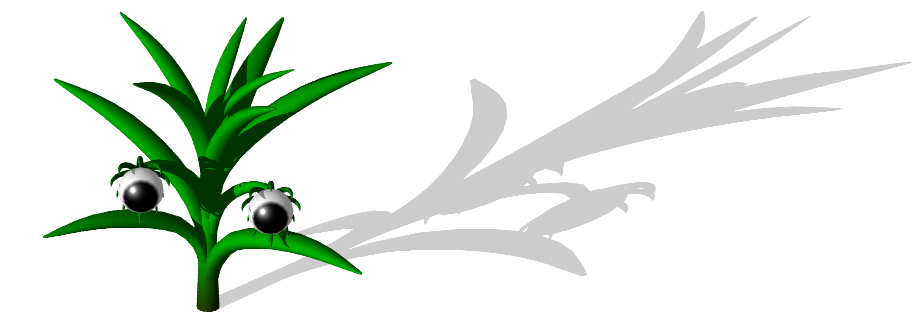
Casting Shadows
We do not have to do anything to make shadows work for povray because shadows are created by povray automatically. However if there is no floor or any objects to cast a shadow onto, we wont see a shadow, same as in the real world.
The position of the light is specified by PovLight's location field.
Changing the Resolution
To change the resolution for the render window select this drop down menu:
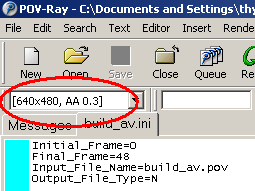
AA stands for anti alias, this is good to have because it smooths out the pixels very nicely in the rendered image and is no longer an issue to concern ourselevs with because computers today are so many times faster than they once were.
Copyright © 2000-2007 Graham Perrett thyme@seamless3d.com