19. Move the pivot points
Before we can animate our avatar we must first move each part's pivot point (the
point at which the part rotates around) to the appropriate location. To move a part's
pivot point, select the part and use the part's control panels's
pivotPoint buttons or alternatively use the
 buttons from the horizontal tool bar.
Same as with most other non rotation buttons, they increment and decrement in 1 centimeter amounts and 1 millimeter amounts when the control key is held down.
The yellow dot displayed in the 3d window shows the location of the pivot point.

If you have trouble seeing the pivot point, zoom in using the mouse wheel or use
the zoom
 buttons
When moving the pivot points the yellow dot should be viewed from both front on
 and side on

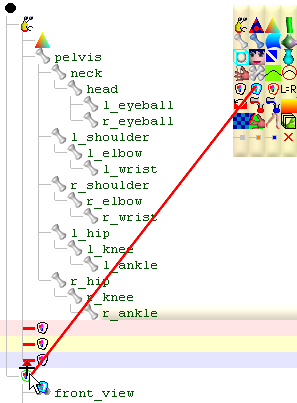
Because pivot points are relative to their parent part, you should move the pivot points beginning from the top part in the scene tree (pelvis) and work your way down to the last part (r_ankle). If you need to move a part's pivot point without changing the location of any of the children pivot points, hold down the Alt key while moving the pivot point.
20. Add gesture group
So that the animation will play as a gesture, add a GestureGroup

This can be done by dragging it to the scene
 node which would result in the GestureGroup being added after the NoOutputGroup
 (which contains the floor and height guide). This is not a problem but if we rather
insert it as a sibling between
the
(which contains the floor and height guide). This is not a problem but if we rather
insert it as a sibling between
the
 and the
this can be done by dragging the
as a sibling below the or as a sibling above the
as shown:
and the
this can be done by dragging the
as a sibling below the or as a sibling above the
as shown:
21. Setup animation
Plug a new Anim node into the GestureGroup

Click on the new Anim
node to open the anim bar.

Specify a 2 second period by clicking
 up.
up.
22. Record the poses
Animating our model is pretty straight forward. We create a
sequence of
poses and play them. To record a pose, first drag the anim bars's slider
 along the time line to the point in time we wish the pose to be set. The pose is
set by simply dragging the anim control points:
along the time line to the point in time we wish the pose to be set. The pose is
set by simply dragging the anim control points:

To rotate the selected part for a pose, drag the red anim control point and to position the selected part drag the yellow anim control point.
Most parts only need to be rotated because there is no need to change the position for any body part except the pelvis (which all other parts are connected to).
The 2 anim control points are visible so long as the anim bar is open and a part node is selected.
When posing, view the model from different angles using the view buttons
 or by dragging
the mouse while holding down the mouse's right
button.
or by dragging
the mouse while holding down the mouse's right
button.
To copy and paste a pose from one point in the time line to another, use the anim
bar's copy
 and paste
 buttons.
To delete a pose, click

To play the animation click

[3d Modelling Software] [Tutorials] [Forum] [Features] [Download] [Gallery] [FAQ] [Worlds] [Avatars] [Links] [Thyme]